Sourdough baguettes
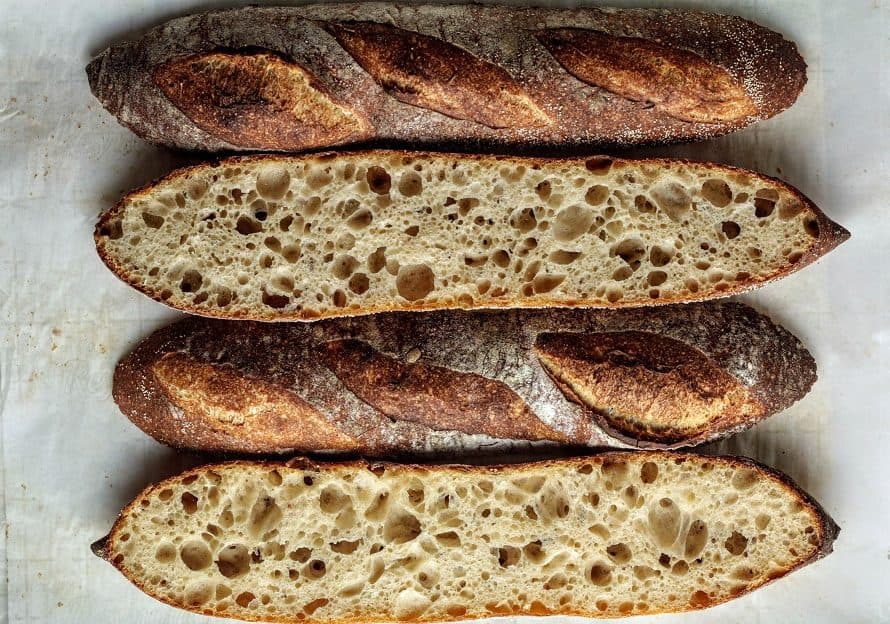
A complete guide to crusty homemade sourdough baguettes!
I was on a mission to finding the secret or holly grail to making perfect sourdough baguette at home. In a bakery, this would be a no big deal with all the state-of-the-art mixers, proofers and ovens. But it can be quite challenging at home.
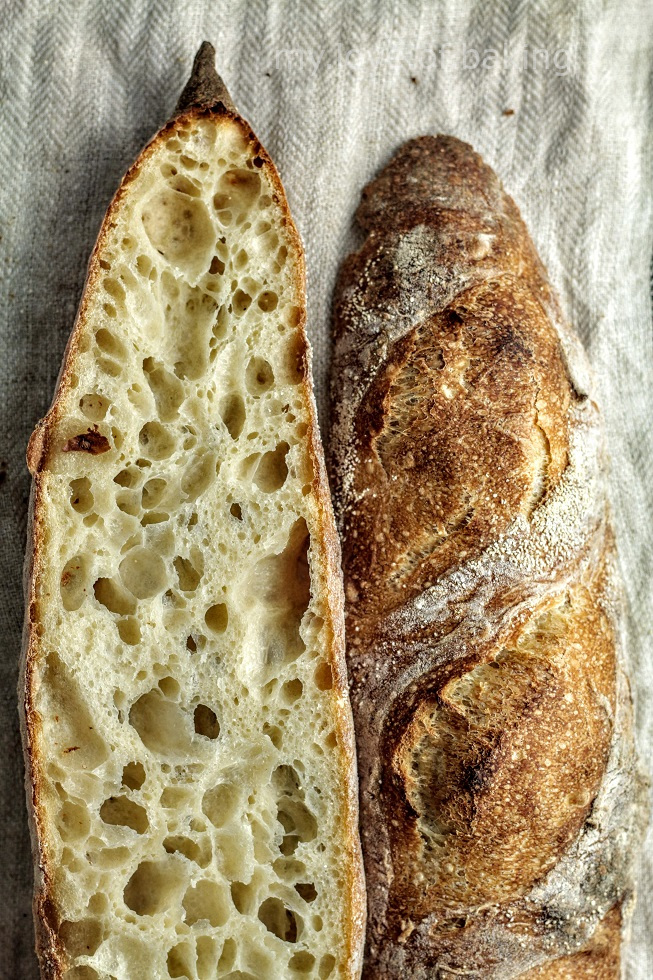
First of all, a baguette is nothing but a type of bread in the form of a long stick. The main reason for shaping the dough into a long stick is to get more of the crust. Baguettes are usually broken by hand rather than sliced and served with stews. If not they are split lengthwise used to make sandwiches. There are a few characteristics to a baguette:
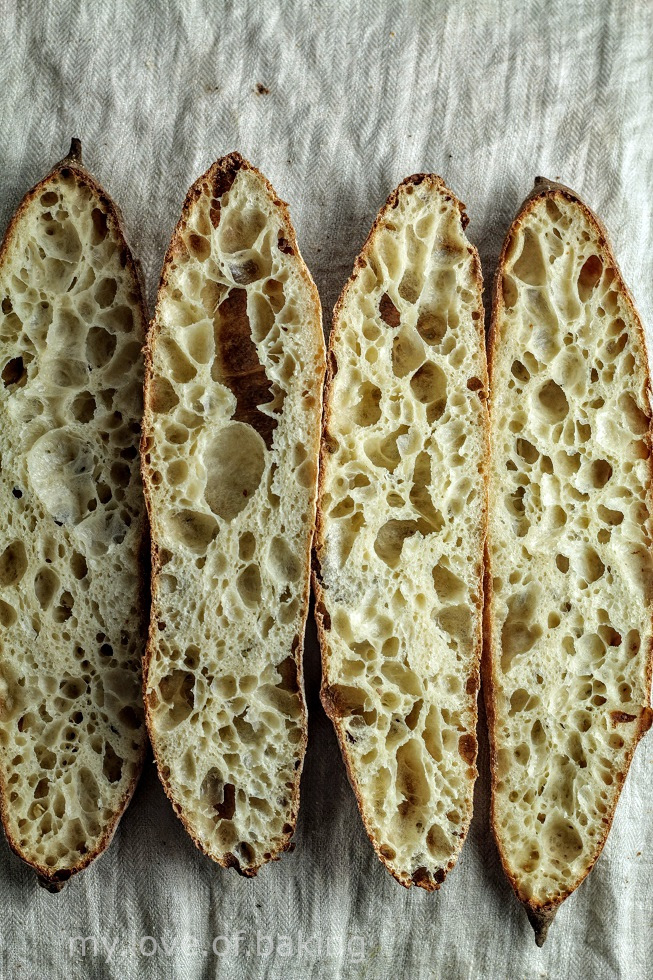
So in-order to achieve the above, we need to make sure to do the following;
You can use a basic bread recipe and turn it into a baguette. The only differences are in retarding and shaping. It is best to let the dough retard as a bulk. If you shape the baguettes and try to retard, they tend to lose their shape and sometimes, become too wet or soft to handle. This makes it harder to score and transfer to the oven. So the best practice is to bulk retard the dough and shape prior to baking.
About the flour
Notice I am using strong bread flour meaning the flour has a higher gluten percentage than the regular bread flour
strong bread flour - 13-14%
bread flour - 12%
All purpose - 10-11%
The more gluten in the flour, the stronger the dough will be. If you are not sure about the gluten % or are using regular bread flour, I suggest reducing the hydration until you are confident enough to handle a high hydration dough. Instead of 200g water may be use 180g -190g and see how it goes.
The high hydration helps with a chewier texture. Once you are used to the process, try increasing the water content in the recipe.
I have figured out, with time, the less you knead the dough, the better. Gluten is developed over time. And we will only use stretch and folds at intervals to create the strength. This will require no mixer at all.
With all the basic sorted, lets get to the steps
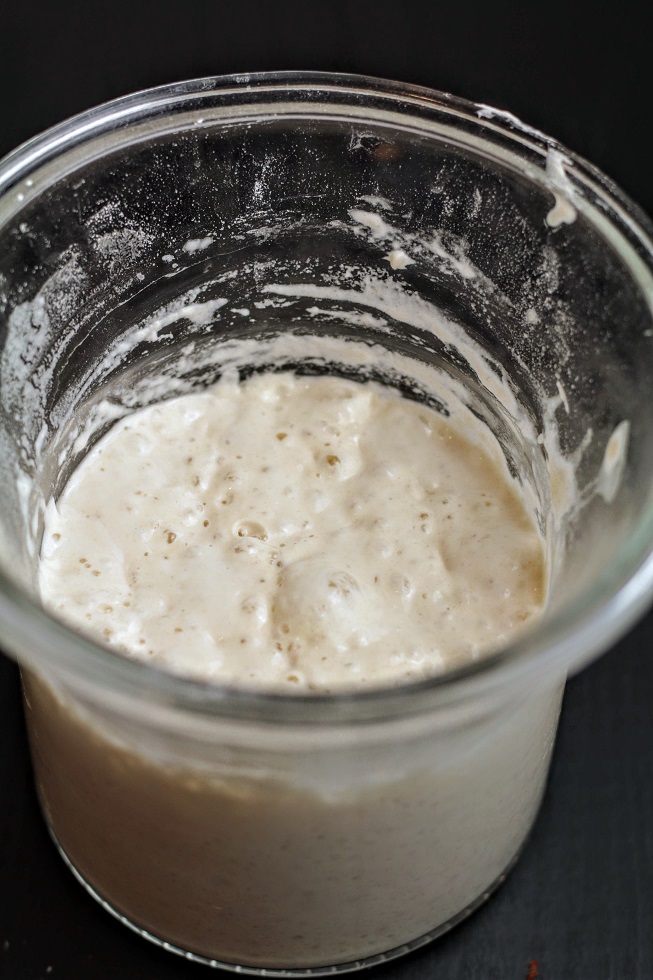
A first step is to get the starter ready. Feed the starter 6-7 hours before making the bread. Use a 100 % starter, meaning 1 part water to 1 part flour to feed the culture.
e.g: 50 g flour, 50 g water to feed 1 tsp starter
This is how my ripe start looked like at it's peak
More about starter
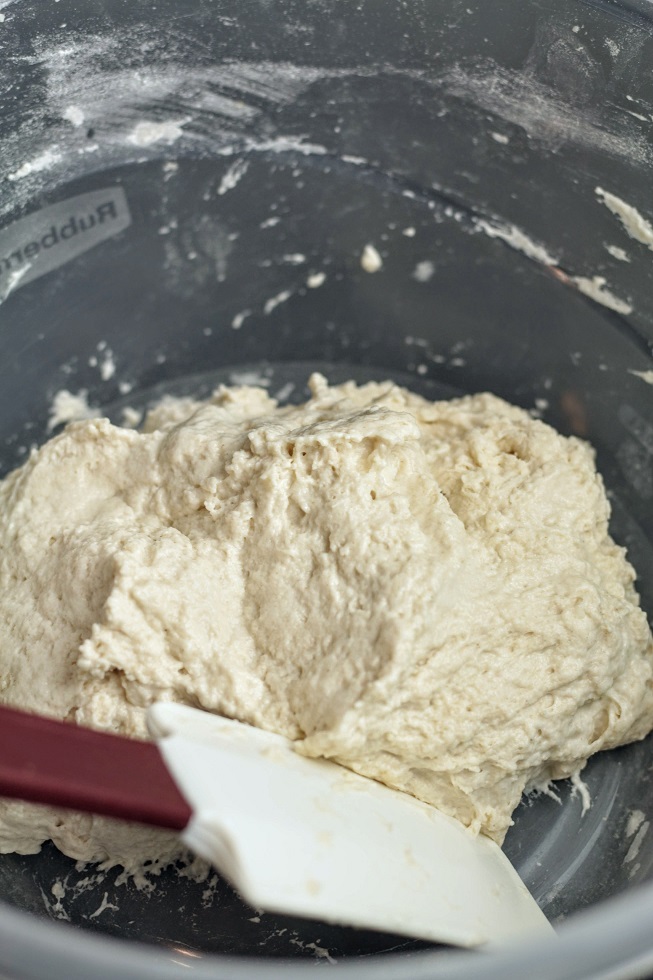
Mix the flour, water (leave 3 tbsp of water for later) and starter in a large plastic bowl. Mix only to combine everything just like shown in the picture. Now close the lid and leave for about an hour to autolyze.
Gluten will be developed during this time, without our intervention

After about an hour, add the salt. Dissolve the salt in the left out water and add to the dough. Mix until a smooth dough is formed. Use slap & fold as this is a high hydrated dough.
Place in the plastic bowl, cover and leave to rest for 45 minutes until the first stretch and fold or coil fold.
we will do 3 coil folds/stretch & folds during bulk
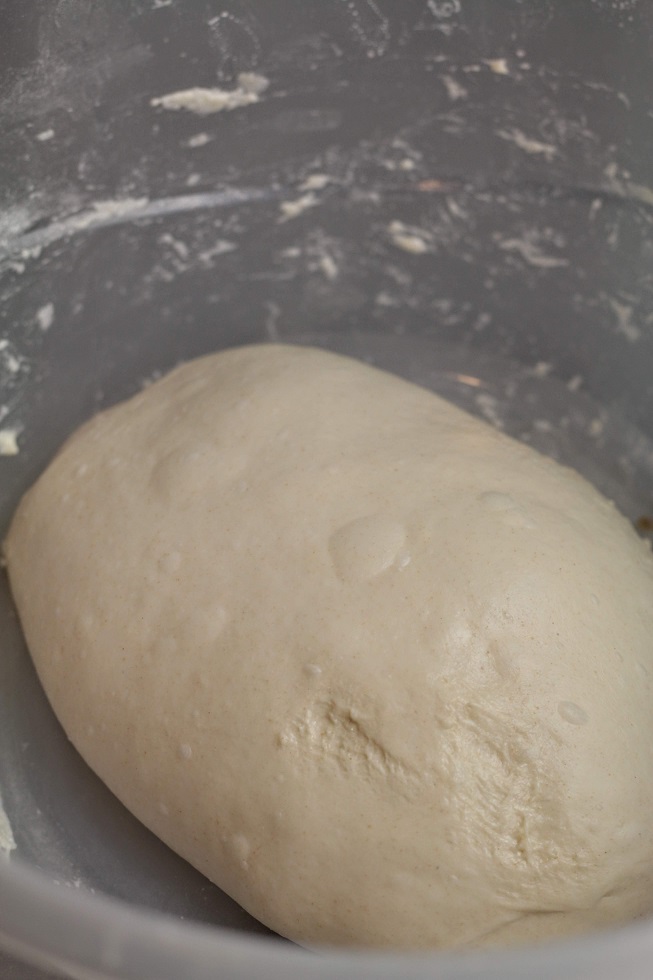
Give a stretch and folds (coil fold) at 45 minutes and repeat two more at 45 minute intervals. Be gentle with folding..check videos
With every fold, the dough will start to feel more elastic and stronger. At the end of 3rd fold, rest the dough for about 2 hours .
RetardationThen, cover with a well-fitted lid and refrigerate for several hours/ overnight
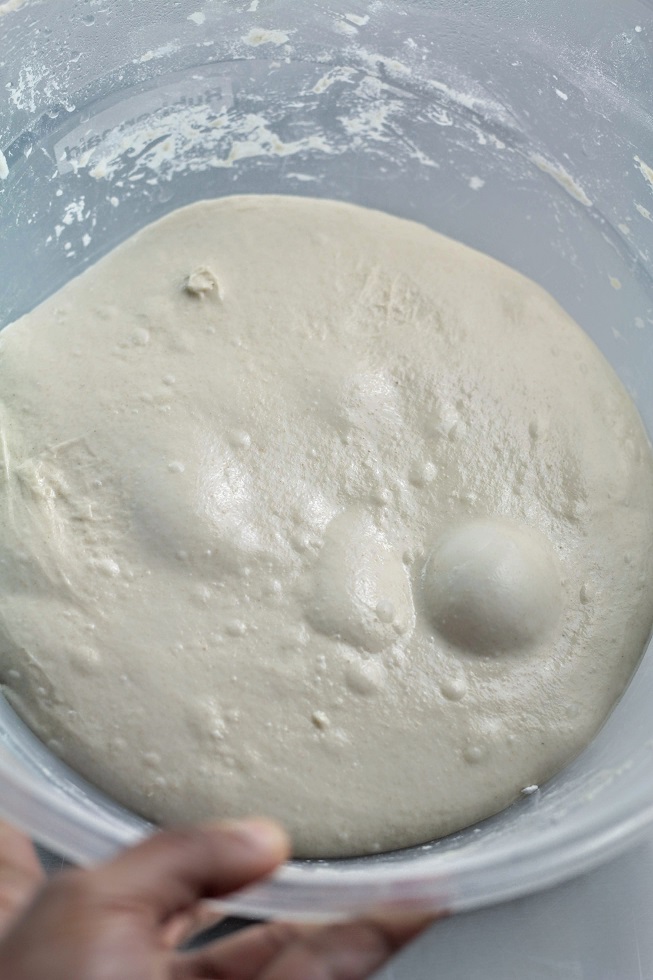
On the following day, take out the dough and leave at room temperature for about 4-5 hours, until you start to see air bubbles and the dough is risen considerably.
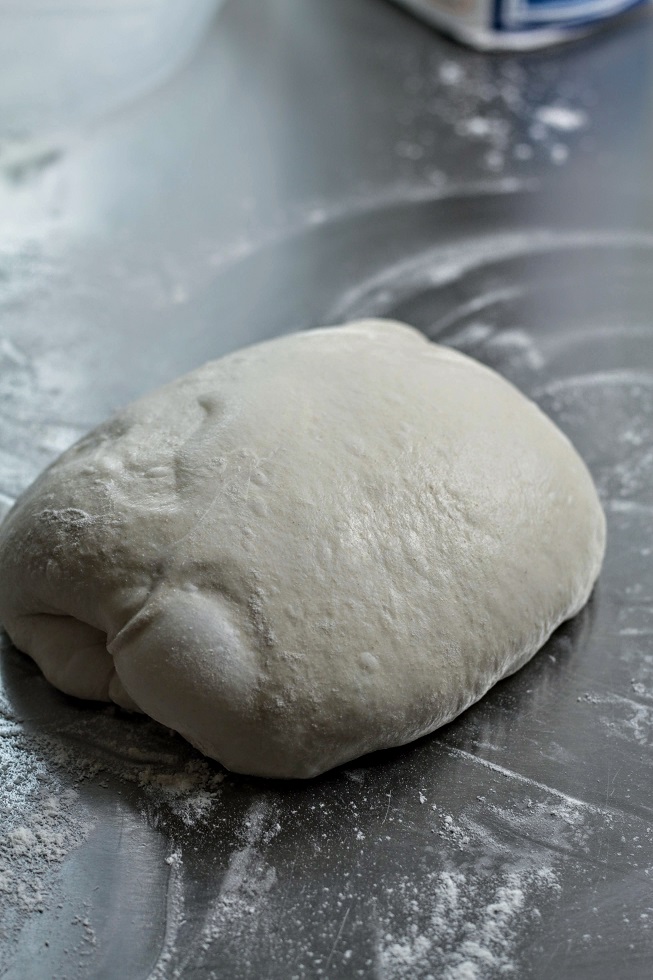
Tip the dough slowly on to a floured surface and form a dough ball, without knocking out too much air. The dough should be wobbly and full of air pockets. let this rest for about 5-10 minutes.
This step will make it easier to handle the dough when you try to divide and pre-shape
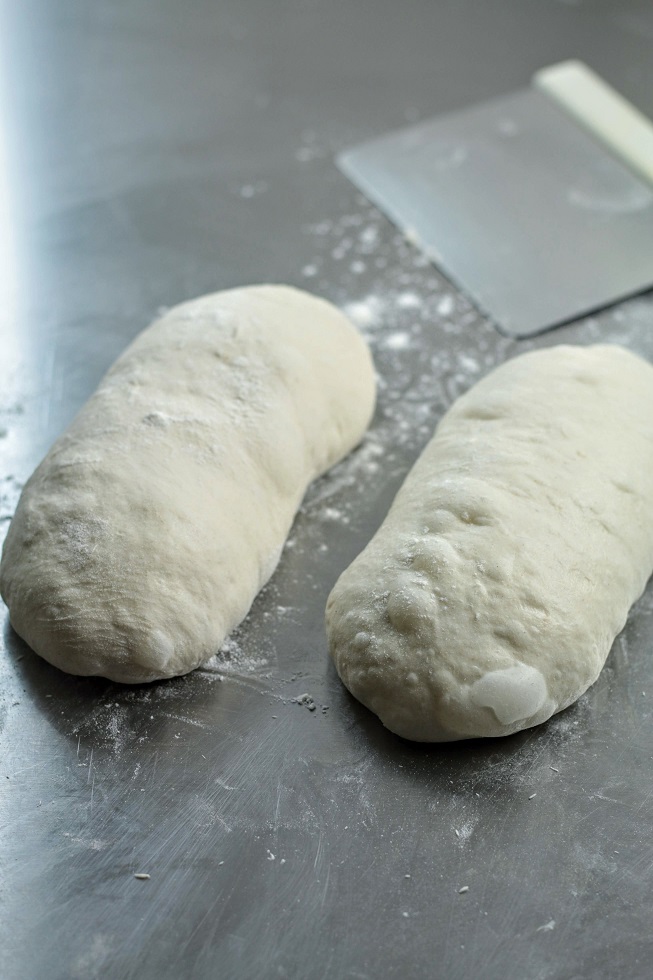
This is important to create the necessary stretch of the outer skin. Divide the dough in to two pieces, and shape each into a log shape.
Cover with a light dusting of flour and leave uncovered for about 30 minutes to rest.
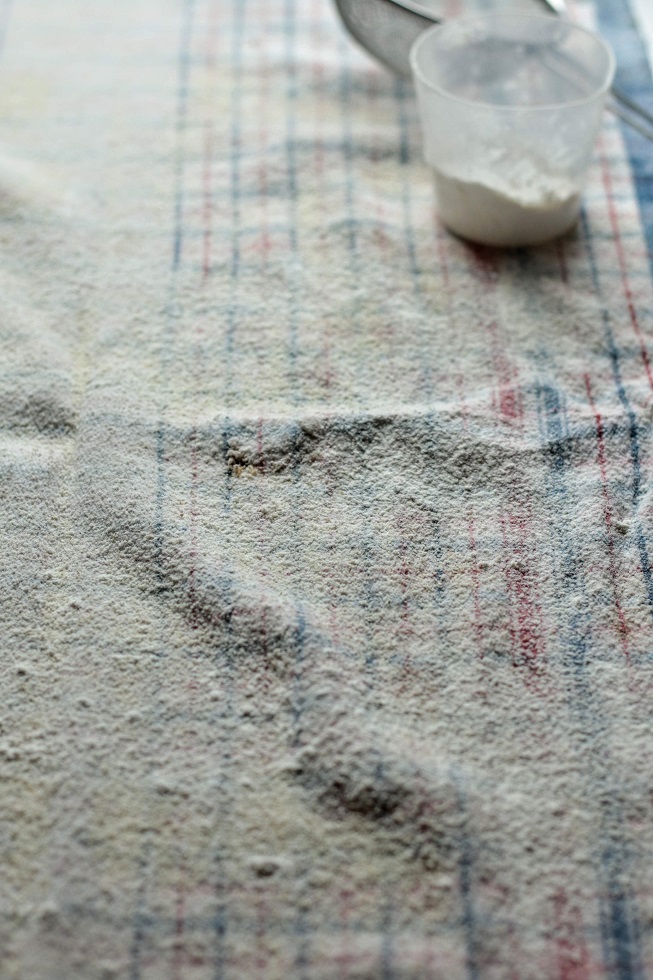
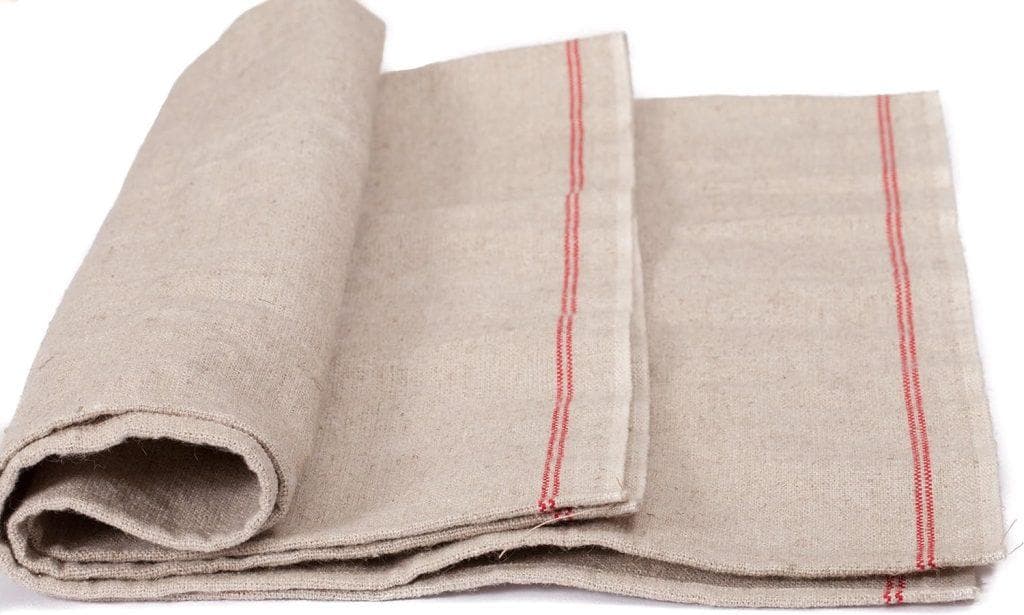
Traditionally a couche is used for this purpose. But you can substitute this with a thick clean tea towel. Dust it with flour and semolina generously.
This is where we are going to proof the baguettes
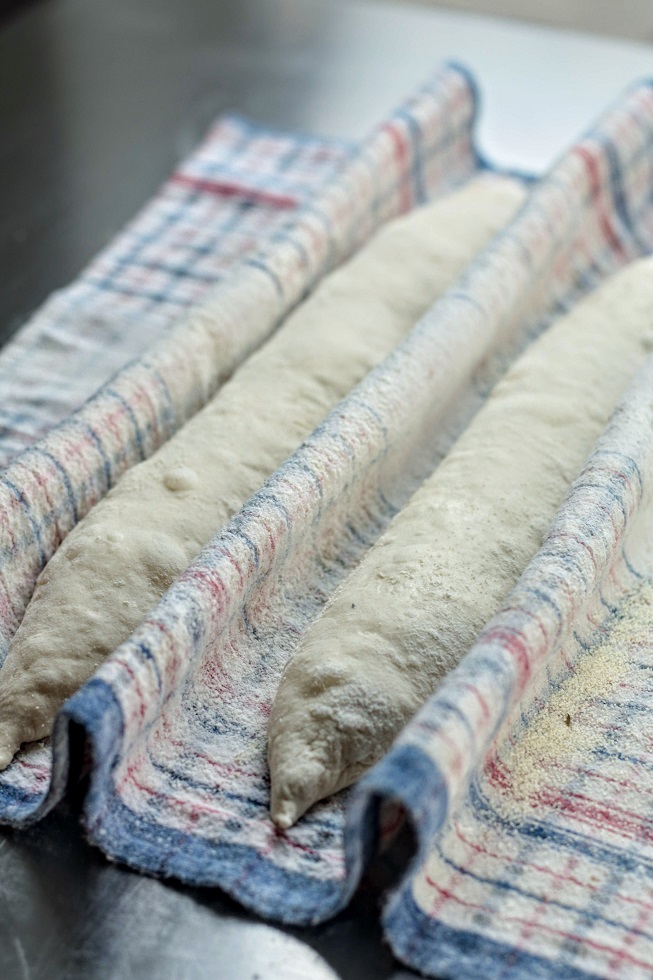
Shape the dough into baguettes and place on the prepared tea towel. Loosely cover and let these proof for about an hour or 1 1/2 hours. Preheat the oven in the meantime.
Check the video attached below for shaping or this one here
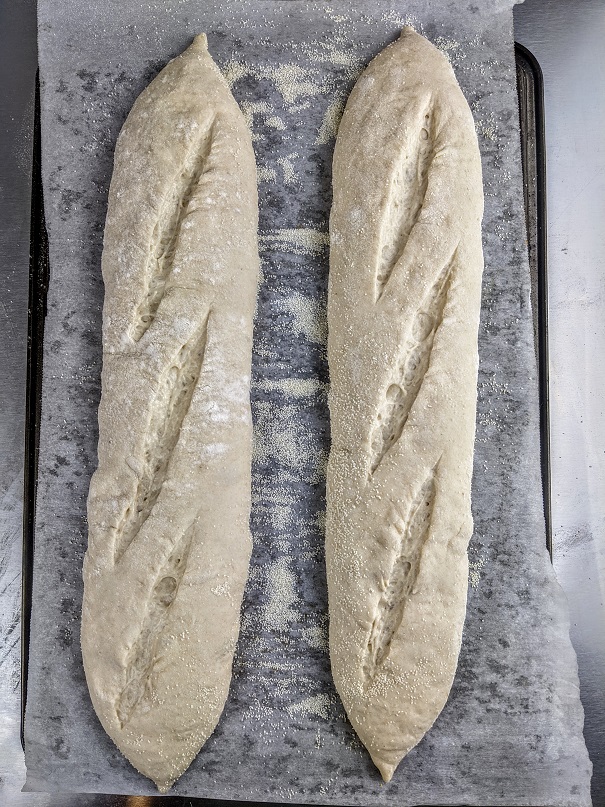
Transfer the proofed baguettes on to a peel or on to a tray lined with parchment as shown in the picture.
Dust the baguettes with a little flour and score the top using sharp blade.
Once the oven is ready place in the oven, on the pizza stone/skillet along with the parchment and bake according to instructions below.
You can also choose to use a baguette tray, if handling the dough is difficult. I prefer to use the stone directly as it transmit heat directly to the dough.

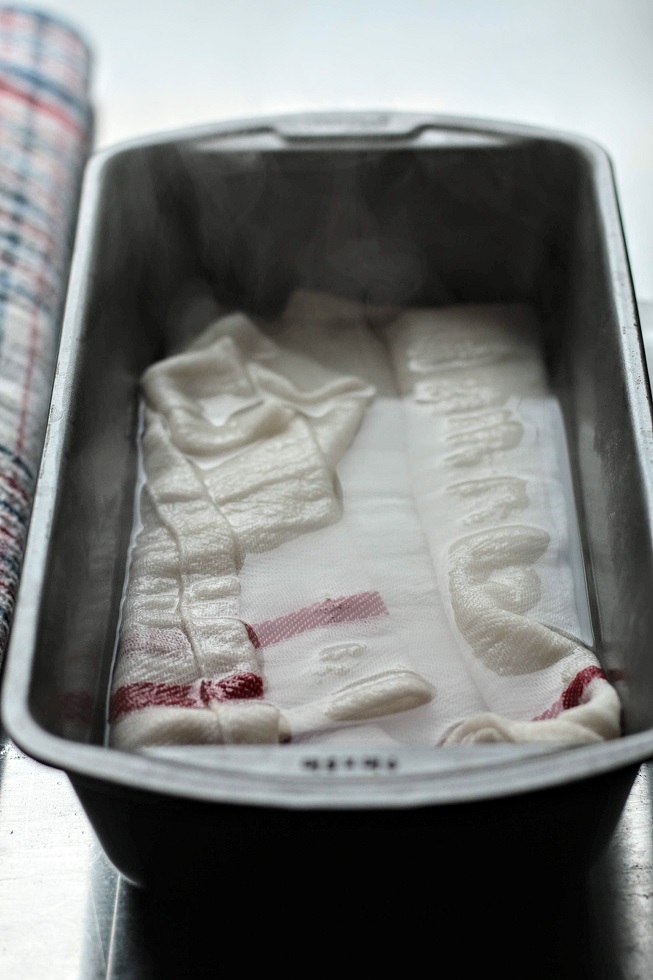
This is what I use to generate steam. A bread loaf pan with a tea towel tucked in. Pour boiling water until tea towel is covered and place this during the last few minutes of preheating.
I will also spray water and throw some ice cubes on tray placed on the bottom, once the bread is in.
Caution! Be extra careful when you open the oven door to place the baguettes in. There will be a lot of steam gushing out!
Cool baguettes on a wire rack.
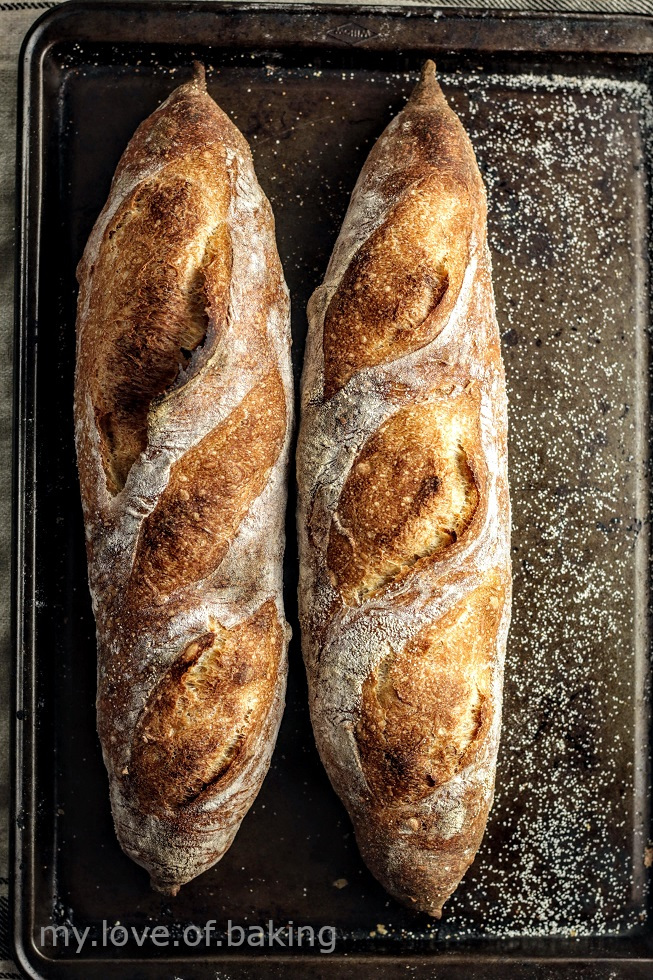
There you have it. This is everything I have learnt and I hope you will find answers to you questions/problems in this post. When it comes to baguettes, the recipe is only 20 % of the whole process. It is the timing, dough consistency, bulk proofing, shaping and most importantly baking is what matters most.
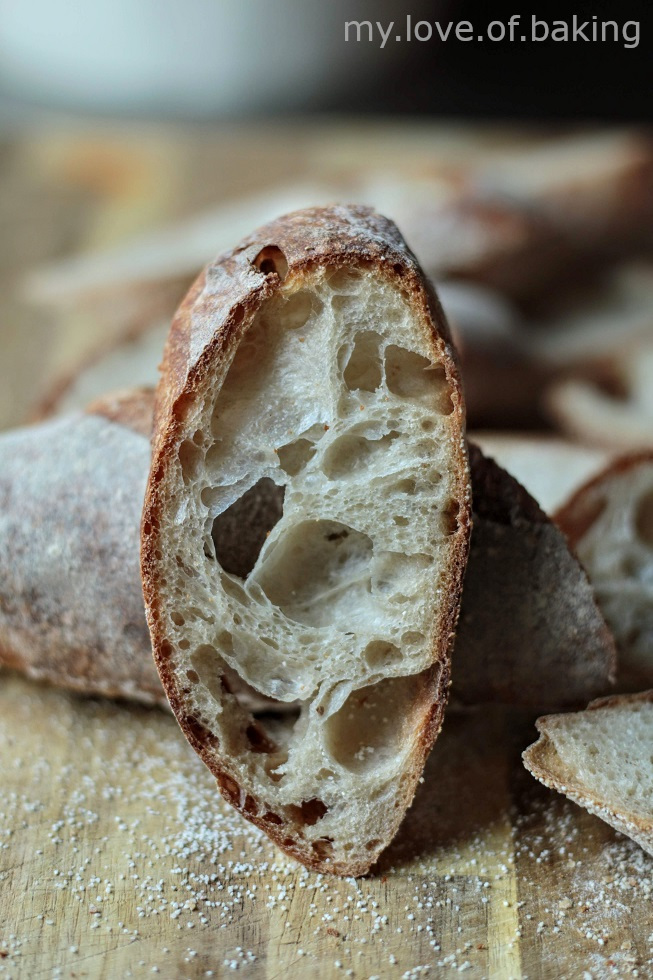
Following is a simple recipe for two baguettes which I used for experiments. Once you have mastered the technique, feel free change the recipe and try something different!
Shop the Ingredients
Sourdough baguettes
Ingredients
Method
- 1
Mix flour, starter and 190 g of the water and autolyse for an hour
- 2
Dissolve salt in 10 g of water, add to the dough and mix to form a smooth ball
- 3
Let rest for 45 minutes
- 4
Give a stretch and fold/coil fold and let rest for 45 minutes. check videos attached in the post above
- 5
Give 2 more folds (coil fold or stretch & folds) at 45 minutes apart
- 6
After the final (3rd) fold, leave the dough to rest for about 2 hours
- 7
Place the dough in the fridge for a slow/cold proofing (retardation) for minimum 8 hours or overnight
- 8
After cold bulk, let the dough rest in the room temperature for 3-5 hours(depending on temp.) or until you see a considerable rise in the dough and air bubbles. Dough would be wobbly
- 9
Tip the dough on to a floured surface and round it up gently. Do not let too much air out. Rest for 10- 15 minutes
- 10
Divide the dough to two equal parts and pre-shape in to logs. Again be careful not to knock out air. Rest the dough pieces for 30 minutes. Leave them open so the exterior will be dry and would be easier to handle
- 11
Shape the baguettes(check video below) and place on the couche or the prepared tea towel
- 12
Let the baguettes rise for a final time ( 45 to 90 minutes)
- 13
Preheat oven in the meantime (check instructions above in the post)
- 14
Bake the baguettes @ 475 F with steam for 15 minutes
- 15
Reduce heat to 450 F and bake for a further 12 minutes without steam
- 16
Switch off the oven and bake for another 10-15 minutes under the residual heat
- 17
Check for dark brown color and when tapped, should sound hollow
Never Miss a Recipe
Get new recipes straight to your inbox.

Comments
Loading comments…